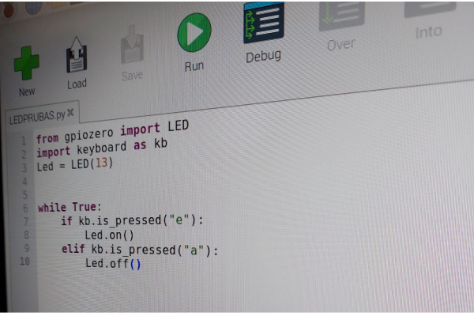
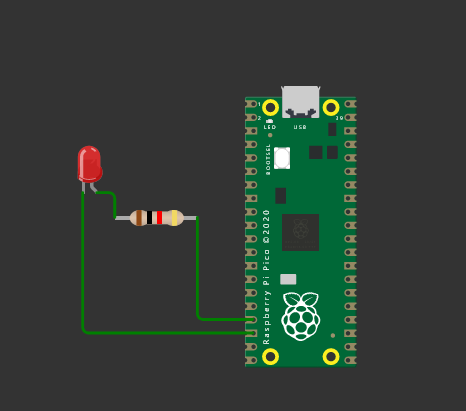
To begin, we generated a code that involved a circuit consisting of an LED connected to a resistor. First, to verify its correct functionality, we performed a blinking test. Then, we checked that by pressing two assigned keys for the on and off instructions, the LED would turn on or off, respectively.
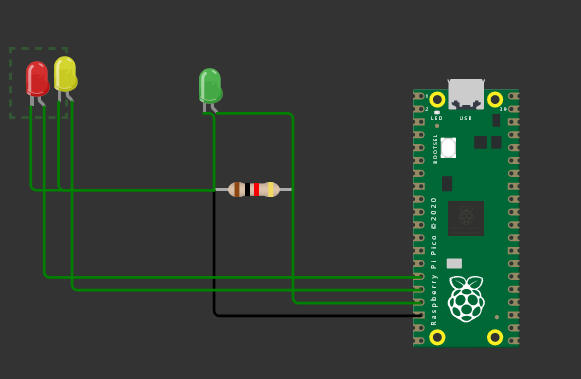
Subsequently, as our first project, we created a traffic light. We implemented two additional LEDs with their corresponding resistors, considering the color of each (yellow, red, and green). The objective was to generate a progressive and orderly sequence of lighting, using the "sleep" function to specify the wait times between LED activations.

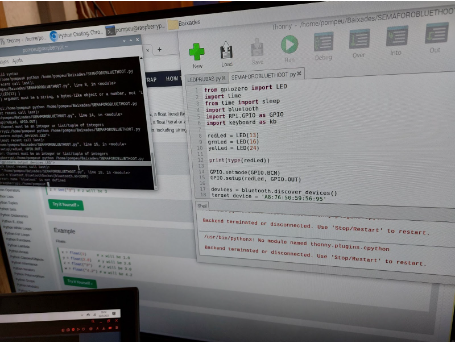
In the following project, we aimed to control the LEDs using Bluetooth and a Bluetooth module. First, we updated the system and performed a "sudo apt-get upgrade" as an initial step to install PyBluez on the Raspberry Pi, as it showed an error indicating that it was not installed. Then, when implementing the code, some errors arose, mainly with the detection of LED 13. We made adjustments to the code, such as adding "int" before the LED value, which solved the problem. Finally, after successfully connecting the mobile device to the Raspberry Pi, we implemented the lines of code extracted from Simon Mok's book to achieve control through a mobile application.